OAuth 2.0 Authentication
How to quickly get a Gmail OAuth application set up.
Create an OAuth2 application in Google Cloud
-
Create a new Google Cloud Console project
-
Log in to your Google Cloud Console using your Google credentials.
-
In the top menu, select the project dropdown in the top navigation and select New project or go directly to the New Project page.
-
Enter a Project name and select the Location for your project.
-
Select Create.
-
Check the top navigation and make sure the project dropdown has your project selected. If not, select the project you just created.

Enable APIs
With your project created, enable the APIs you'll need access to:
- Go to APIs & Services > Library.
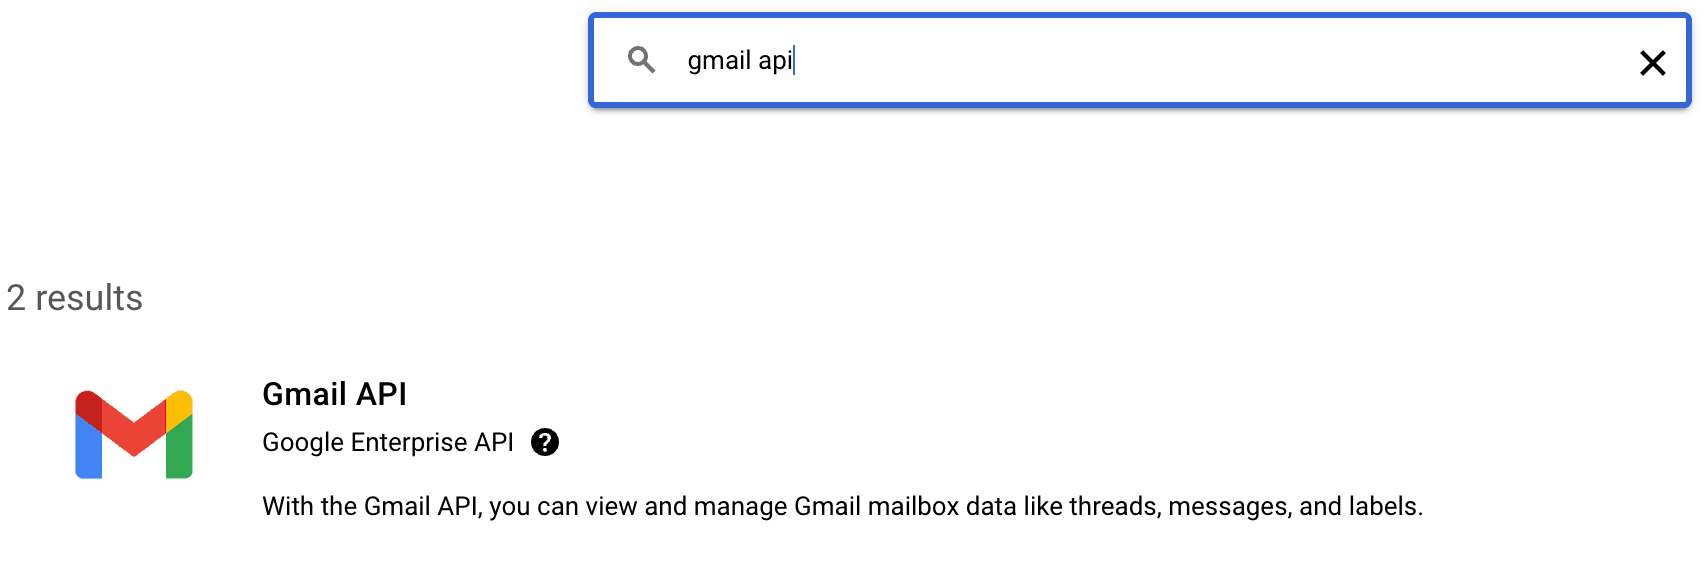
- Search for and select the API(s) you want to enable. For example, for Gmail, search for and enable the Gmail API. Search and enable all the applcations that you want to use.

Configure your OAuth consent screen
- Open the left navigation menu and go to APIs & Services > OAuth consent screen.
- For User Type, select Internal for user access within your organization's Google workspace or External for any user with a Google account. Refer to Google's User type documentation for more information on user types.
- Select Create.
- Enter the essential information:
- App name
- User support email
- Email addresses field in Developer contact information
- In the Authorized domains section, add controller-frontend.vercel.app.
- Select SAVE AND CONTINUE to go to the Scopes page.
- You don't need to set any scopes. Select SAVE AND CONTINUE again to go to the Summary page.
- On the Summary page, review the information for accuracy.
Allow your Google OAuth consent
- In the APIs & Services section, select OAuth consent screen.
- Under Test users, select +Add Users
- Add your Google email address to your account and hit Save.
Create your Google OAuth client credentials
Next, create the OAuth client credentials in Google:
- In the APIs & Services section, select Credentials.
- Select + CREATE CREDENTIALS > OAuth client ID.

- In the Application type dropdown, select Web application.
- Add
https://controller-frontend.vercel.app/api/oauth2/callbackas the Authorized redirect URIs in Google Console. - Select CREATE.
Import client details
Copy the Client ID and Client Secret. Paste these into the corresponding fields in Controller for each Google App that you enabled under Enable APIs.
Hit Login with Google. Done!
| Supported applications | Functions |
|---|---|
| Gmail | Send Emails Get Emails Mark Emails as read |
| Google Calendar | Create Events Get Events Update Events Delete Events |